Sunday, April 14, 2013

Easy Thermomix Quince Paste

Last year when I got my Thermomix, I couldn't wait to try making quince paste in it. The thought of making quince paste without having to stand in front of the stove for three hours with a tea towel wrapped around my hand - avoiding boredom, swollen ankles and  horrible burns - was a revelation.

And the results were better than I expected. I made enough to last me almost a whole year in just one batch, so this year I'm going to make lots more, and give it to people as gifts when I visit them. It's so easy!

A few people have been asking me lately which recipe I use. I found this blog last year which is what I've based my recipe on, but I've tweaked and changed it here and there, which is sometimes difficult to share or explain to others.
http://thermomix-er.blogspot.com.au/2010/04/thermomix-quince-paste.html

I also find the instructions a bit difficult to follow, especially when you're switching your gaze from the TM to the screen and back again 15 times, trying to find the line you were just reading with each turn.

So, below is a photographic demonstration of how to make (hopefully fail proof but no guarantees) quince paste, in the Thermomix.

Enjoy.
____________________________


Ingredients:
Quinces, water, sugar.

1.5 Kg whole quinces - approx 4-6 depending on size.
Weigh these in the Varoma


(If your quinces have lots of bad spots or bruises, you can add a little bit more to make sure you have enough good fruit)

Quarter the quinces and then carefully peel and core.


Put the peels and cores into the bowl of the TM (discarding any bad bits) and place the peeled quarters in the Varoma tray. You should end up with three separate piles - fruit, peels and cores (the skins and seeds contain pectin which helps set the paste), and bad bits (including cores that have mould or other yucky bits in them). Throw out the bad bits.

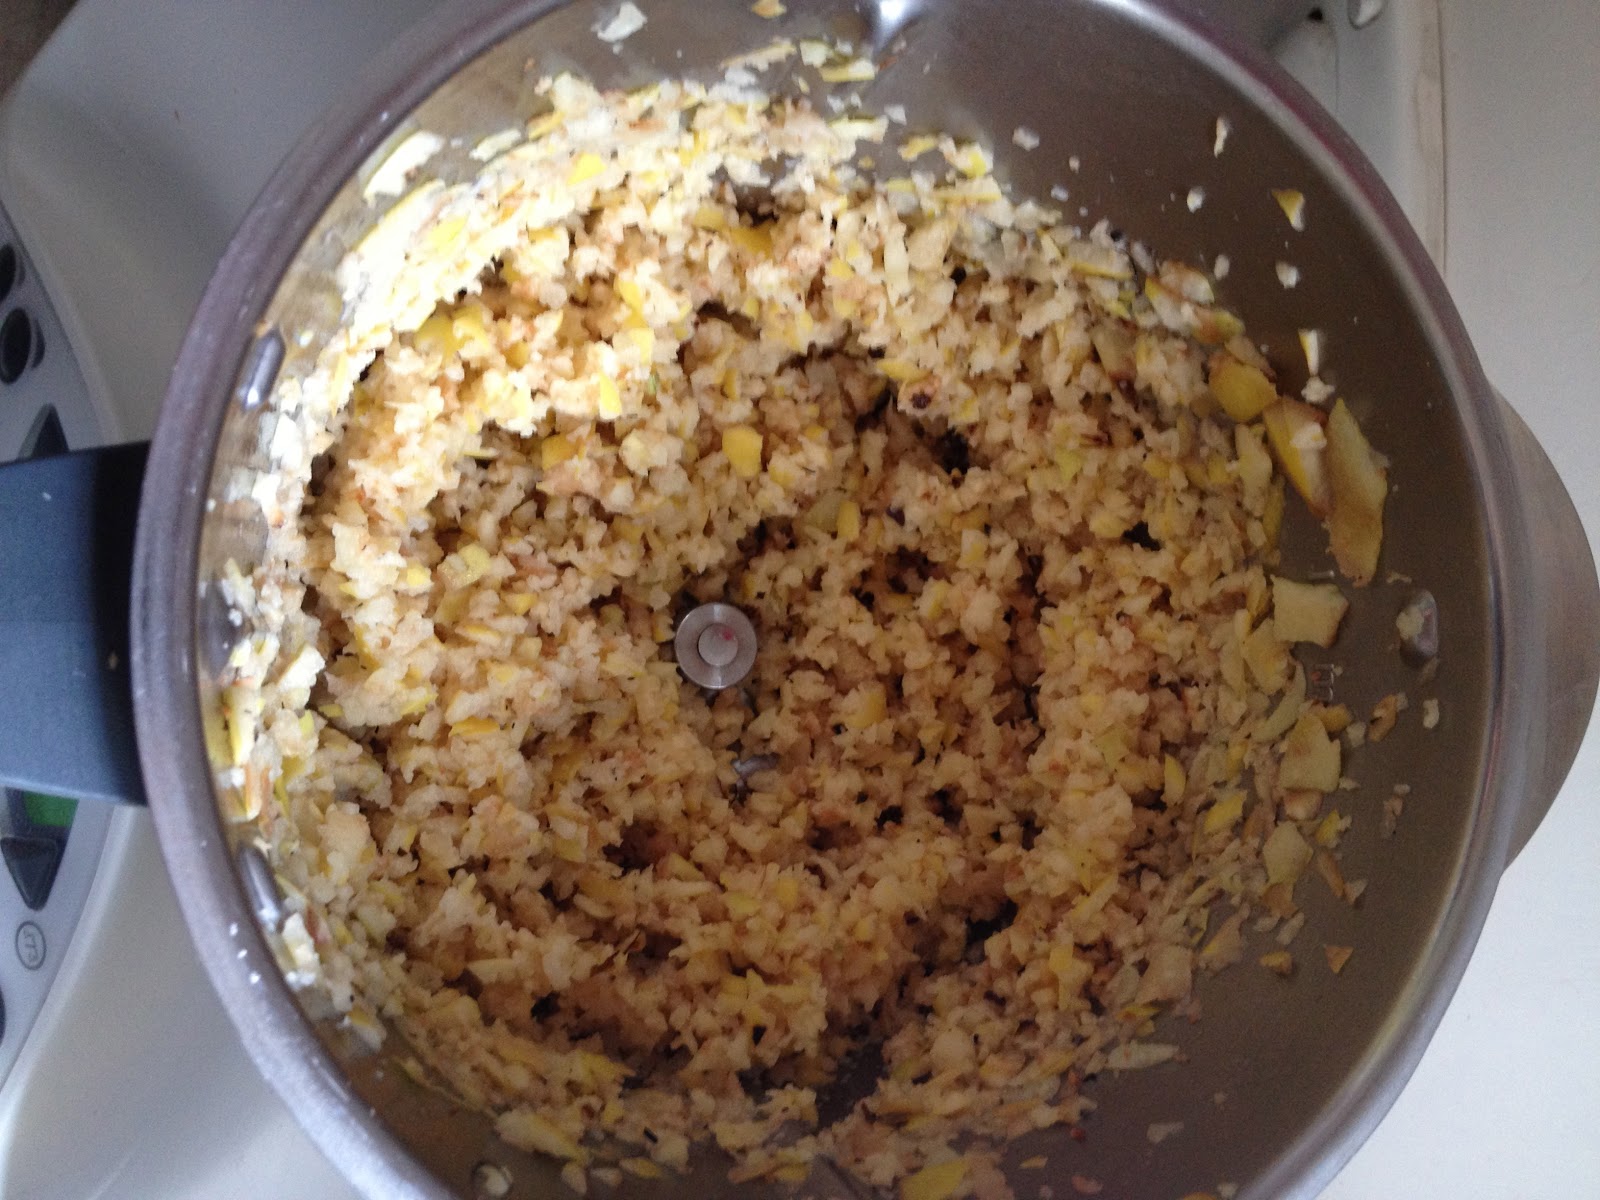
Process the peels and cores on speed 5 for 10 seconds so they are in little bits


Add 700ml of water


Place the fruit in the Varoma on top of the TM and turn it on for
25 minutes at Varoma temperature, speed 1


Strain peels and cores through the rice basket, keeping the water for the next step.

Rinse the TM, zero the scales, then put the steamed fruit and strained water back in, taking note of its weight (I usually get about 1.1kg at this stage).

Now it's time to add the sugar. You need a ratio of 3 parts sugar to 4 parts fruit & water, in other words, the sugar should weigh about 3/4 what the fruit and pulp weighs. So, based on my 1.1kg above, I would use about 800g of sugar. I think I've even used less than that in the past - perhaps 700g?


Zero the scales and weigh the sugar, then mix it all up for10 seconds on speed 7. 

Scrape down the sides so that it's all incorporated, then set the TM for 50 minutes at Varoma temp on speed 5.
You will need to cover the hole in the lid with a clean cloth, and then place the rice basket on top of that, to prevent it bubbling out all over the place.


When the time is up, pour the paste into a shallow baking tray lined with baking paper - be careful, it will be as hot as molten lava at this point. Allow to cool. It should set perfectly, so all that's left to do is divide it up into cheese platter-size portions, wrap and refrigerate. I like to vacuum seal mine in small blocks, but wrapping in glad wrap is also fine - it might just leak a little over time so put the wrapped pieces in a container to keep your fridge clean. Consume within 12 months.


Monday, February 4, 2013

Gennaro's Pesto

Several years ago I worked for an Italian man from Naples. He was a very rustic cook, but he knew a lot, and I loved learning from him. Gravalax, pickling olives, making limoncello, stuffing dried figs with lemon zest (left over from the limoncello process) and hazelnuts then gently roasting them in Masala. Yum!

One of my favourite things I learnt from him was the way he makes Pesto. It's so easy.
He simply used equal weight measures of fresh basil leaves, parmesan, pine nuts and olive oil, with either one or two cloves of garlic (depending on size and taste).

You just blend them all together and - Hey Pesto!


Saturday, December 22, 2012

Simon's Egg Nog Indulgence

This is from a friend of my daughter's father. We got it last year and it's amazing.
Worth making a part of your annual Christmas ritual...

Here goes:

(Makes approx 2.5 Litres)

6 eggs, separated
1.5 cups castor sugar
3 cups milk
2x600ml thickened cream
1.5 cups brandy
1 tsp vanilla essence
1/2 tsp vanilla essence
dash bourbon (optional)
2 Tab sugar extra

The day before:
Separate eggs
Beat yolks until thick
Add 1 cup castor sugar gradually
Add brandy, stirring gradually
Add milk

In a separate  bowl:
Whip 600ml cream, then add to yolk mix

In a separate bowl (clean and dry):
beat egg whites until soft peaks form
Add remaining 1/2 cup castor sugar gradually & continue to beat until soft peaks form

Fold whites into yolk mixture
Add vanilla and cinnamon
Cover and refrigerate.

Before serving:
Whip second 600 ml of cream and add sugar and dash of bourbon if using
Fold whipped cream into egg nog just prior to serving.

Consume in moderation!!!!

Monday, November 19, 2012

Getting my Goat - Part One


This is a story about some goats. Some of them will be eaten. If you don't like that idea, then don't read on...


We recently moved to a property that happens to be next door to a goat cheese dairy, and quickly found out that they were about to have a whole lot of baby billy goats born that they didn't have a use for (you can't milk a boy goat). The plight of male billys from goat dairies is another story, and I will give you a link to an interesting article by Hugh Fearnley-Whittingstal about it but not until the end of my tale.

We decided to take on the challenge of raising a few of these boys at our place, the idea being that we would keep two as lawn mowers (we have a LOT of grass), and two would be for meat.
The first hurdle was getting this idea approved by our children, one of whom has been a vegetarian for about 8 years. Initially they didn't like the idea and only wanted the two as pets, but I basically told them we were doing it and they'd have to get used to the idea! Which they did, to their credit.

At least I gave my daughter the choice of which ones would be pets and which would be dinner. She chose the two brown ones as pets, and the (slightly less cute) white ones as dinner. More about that a bit later...


So we went and collected these goats who were about 5-7 days old, and brought them home in a box in the boot of my car, with a small bag of milk powder and basic instructions on how to keep them alive. (I must say here that our neighbours are the most lovely, helpful people. Although they had about 200 babies being born at that time, they still checked in with us and made sure we were doing ok - they really care about their animals).

My first shock was buying the milk powder - $98 for 16kg! That's probably an ok price, but it made me  realise these goats were an investment - they'd better be worth it! We also needed to buy little teets that screw onto plastic bottles ($4 each) and fix up a pen for them, but that was about it. We borrowed a 'calfateria' from our neighbours as well but we didn't end up using it.

Things started really well, with at least two of us getting up every morning for their 6am feed. I'm not normally a morning person, but getting up at that hour made a huge difference to the family's day. We started eating porridge together around the kitchen table after feeding, and there was plenty of time for lunch making and talking about school, etc... I was actually in heaven.
That lasted for about 3 or 4 weeks.

Goats are hungry little buggers and I was beginning to wonder when they could move on to solid foods? They were showing an interest in grazing so we let them out under supervision. They stayed pretty close and made us all laugh as they seemed to race each other up and down lane ways on our property, bucking and leaping at odd angles as they went. We found that they got on quite well with our chickens and one of our cats, and so again the sense of domestic bliss was restored.


We went on holiday and had to leave them in the care of our neighbours for a few weeks. This worked out well (another bag of milk powder - our third - and a bag of goat feed later), but when we returned from our trip they had gotten a lot bigger!  A bit of flimsy chicken wire and some small sticks was no longer enough to keep them contained and they soon became a nightmare! Escaping, eating our raspberry canes, barging through hedges to get to their favourite plants. I had visions of them running blindly onto the road and causing major accidents. Where were the cute little babies we'd left only a few weeks ago? It was time for a new strategy.

Before we got the goats, I'd read some books and blogs to find out what to do. We were planning to tether the lawn mowing goats, and to do this properly you're supposed to get metal stakes with swivels and proper chain.
I thought I'd try rope for a few days.
That was 6 weeks ago.
I'm still intending to get the proper set up - it just hasn't been a "financial priority" of late. Sorry goats. They actually don't seem to mind.


They've now eaten down most of the blackberry behind the sheds, and are happy to be positioned around the property, grazing away on different leaves and grass. They get tangled from time to time, but we check them often and put them in their pen most nights. I think they're as happy as goats on ropes can be.

The next challenge came when we decided it was time to 'dispatch' of the white ones. Apart from the ick-factor associated with killing an animal that size, we had also come across an unexpected dilemma.
Early on, in about the first or second week, one of the white goats had become ill. It stopped eating, and would just stand or lay in a corner, shivering and getting weaker each day. We rang the neighbours and tried all their suggestions. We brought him up to the house and left him in a box in the porch overnight with a little blanket and some straw. We gave it extra cuddles and talked to it, willing it to get better (even though I'd read that this might not happen).


Stay tuned to see what happened next....


Friday, April 27, 2012

Pear, almond & semolina cake


Try this recipe over the weekend - I just made it up and I think it's worth sharing (I'm on to my second slice!). It's getting cold, so this is the perfect thing to make the house feel warm & cosy.


Pear, almond & semolina cake

200g butter
1 cup brown sugar
zest of 1 lemon
3 eggs
vanilla essence
250g almond meal
250g semolina
2 tsp baking powder
2 pears


Cream butter & sugar with lemon zest until creamy.
Add eggs one at a time, beating after each one.
Fold in essence, almond meal, semolina & baking powder.

Place mixture into a large-ish cake tin (lined with baking paper) & spread out evenly.

Quarter and core pears (don’t peel).
Slice each quarter into 4, lengthways.
Place the slices of pear, skin side up, into the dough, fairly close together so that you fit all or most of them in. Push them down a bit so they don’t pop up.

Sprinkle the pears with ground nutmeg, cardamom and allspice.

Bake at 170 for about an hour or until it’s done (careful not to let it dry out too much).
Let it sit in the tin for 5-10 min after you take it out of the oven, then transfer to a wire rack to cool. Serve with yoghurt or double cream.

Makes a crumbly, moist, rich buttery perfect Autumn cake!

Monday, March 5, 2012

A box of tomatoes


I am a total sucker for a bargain, and when I saw this box of sauce tomatoes at my local veggie growers for $5, even though I have no time to do anything with them, I couldn’t resist.
If they’d been $10 I would have passed them up – but $5? Too good!

So here’s what I’m going to do with them:

Wash the tomatoes & cut out any bad bits, then chop them up roughly and spread them out in a roasting dish or two.
Turn the oven onto about 200C.

Then spread any or all of the following over the top, depending on what you like:
- Oilve oil
- Balsamic vinegar
- Salt & pepper
- Herbs (dried or fresh or both)
            Eg: basil, thyme, rosemary, parsley, bay leaves
- Whole garlic cloves (you don't even have to peel them)
- An onion or two (brown or red), roughly chopped
- Lemon zest
- Dried or fresh chilli (just a little bit!)

Give it a quick toss in the tray, then pop them in the oven for about 1 1/2 hours, or until it’s smelling DIVINE and the garlic is soft. You can turn them during cooking if you want to, but don't worry about a small amount of browning around the edges as it adds flavour.

The thing that usually puts me off doing anything with bulk lots of fruit these days is the end bit – the bottling. I’ve done heaps of it and I can’t be bothered any more.
Soooo…
I’m going to put the resulting ‘sauce’ into freezer bags (I’ll use my vacuum sealer, but any clean plastic bag is fine, zip-lock bags are good) once it’s cooled down.
I always freeze this sort of thing as flat as possible (see the picture) so that it doesn’t take long to defrost when you want it later on. Don’t forget to name and date the bag – saves the guess work 6 months down the track.

This tomato base can now be used for all sorts of things.
-       Simply reheat and serve with fresh pasta
-        Use in place of crushed or tinned tomatoes for bolognase, chilli con carne,, minestrone, etc…
-        Reduce the liquid by cooking it down in a large frying pan to make pizza sauce
-        Add to more sautéed onions & garlic, some red lentils and even some roasted capsicum or other veggies, pour over stock or water, cook until the legumes are soft then puree to make a delicious soup. Top with coriander and feta to serve.
-        Use as layers in a lasagna (esp. veggie lasagna – yum!)
-        Place some good quality sausages (or veggie alternative, like whole baby zucchini or tofu) in a roasting dish, ½ cover with the roasted tomatoes & bake until sausages are well cooked
Too easy!

Oh yes - if you were wondering what the green stuff is in the top photo - it's kale. I use it for green smoothies in the morning but I also love eating it with pasta, so I fried some up with a bit more garlic, chilli and olive oil, then added some of the roasted tomatoes for my pasta sauce this evening. Add to that a bit of chilli pecorino & you're in business!

Monday, February 13, 2012

No more meals.... for now.

Ginny’s Kitchen is no longer producing meals – but that doesn’t necessarily spell THE END for the GK business.
The other day I scrubbed the words "Ginny’s Kitchen – Food on the Fly” off my sign on the fence. I could have just taken the whole thing down but I love the heart logo that my friend Kate designed, and I wanted to leave it up there.
We live on a busy corner, and I like the fact that visitors and locals drive past every day, seeing a symbol of love standing out there for no particular reason. Some people might know it went with my kitchen, but most will have no idea what it means, and so I hope that it just makes them feel a little bit warmer on the inside, remembering love, especially in a beautiful place like Red Hill.

Underneath the sign, we’ve actually got a new sign, advertising local avocados. Maybe people will think that’s what the heart is about? We’ve struck a great deal with the avocado grower where we get a regular supply of his produce in exchange for displaying his sign, so I don’t mind him taking advantage of the love heart at all!

So what’s going to happen to Ginny’s Kitchen?

After all the hard work of last year – hours spent developing labels and recipes and “the brand” I don’t intend to leave it all behind, but I had to make a choice between regular employment (I’m a public servant in my other life) and lots of cooking, and for now the regular employment has won out.

I got to a point where I needed to be able to grow the business in order to make it worth while, but I didn’t have enough time to do that (as well as cook, work, run a family and have some time to myself!), and towards the end of the year I began to feel like I wasn’t doing anything well.

It is a little frustrating, as there are plenty of opportunities to grow the meals business in all sorts of directions, but now that I’ve stopped doing it, I actually feel kind of relieved. The blurred lines between home and work didn’t suit me. I need to find another way to be creative and lucrative – outside of my precious family life.

Food is my creative outlet. It’s appealing to me because it has a tangible product at the end of your hard work, and it’s usually something that others appreciate. I enjoyed having a wider audience to share my love of cooking with, but once it became hard work, I stopped enjoying it as much. And since I’ve stopped cooking for the business, I’ve been taking enormous pleasure in tending my veggie garden, cooking simple salads and BBQs, and playing with my kids

Eating well is a life-long passion and pursuit, which I hope I can continue to share with others in as many ways as possible. In my other work I still get to do this through Community Kitchens (communitykitchens.org.au). I also want to get better a sharing thoughts and recipes on this blog. I can cook for my friends and family and then I will just have to wait and see what the future has in store…

Anyone got a good recipe for avocados (other than guacamole!)?